How To Make Your Own Badge With a Badge-Making Machine
Make your own badge with your own unique design, using a badge-making machine, following these simple instructions!
YOU WILL NEED:
Pre-cut paper circle
Pre-cut plastic film circle
Metal badge base
Clip/pin badge back (you can use pin badges but we buy clip badges for safety with young children)
Badge-Making machine
INSTRUCTIONS:
To make the clip-badge first choose a circle piece of paper and pre-cut plastic film circle (make sure you just use one of them, because they often stick together!)

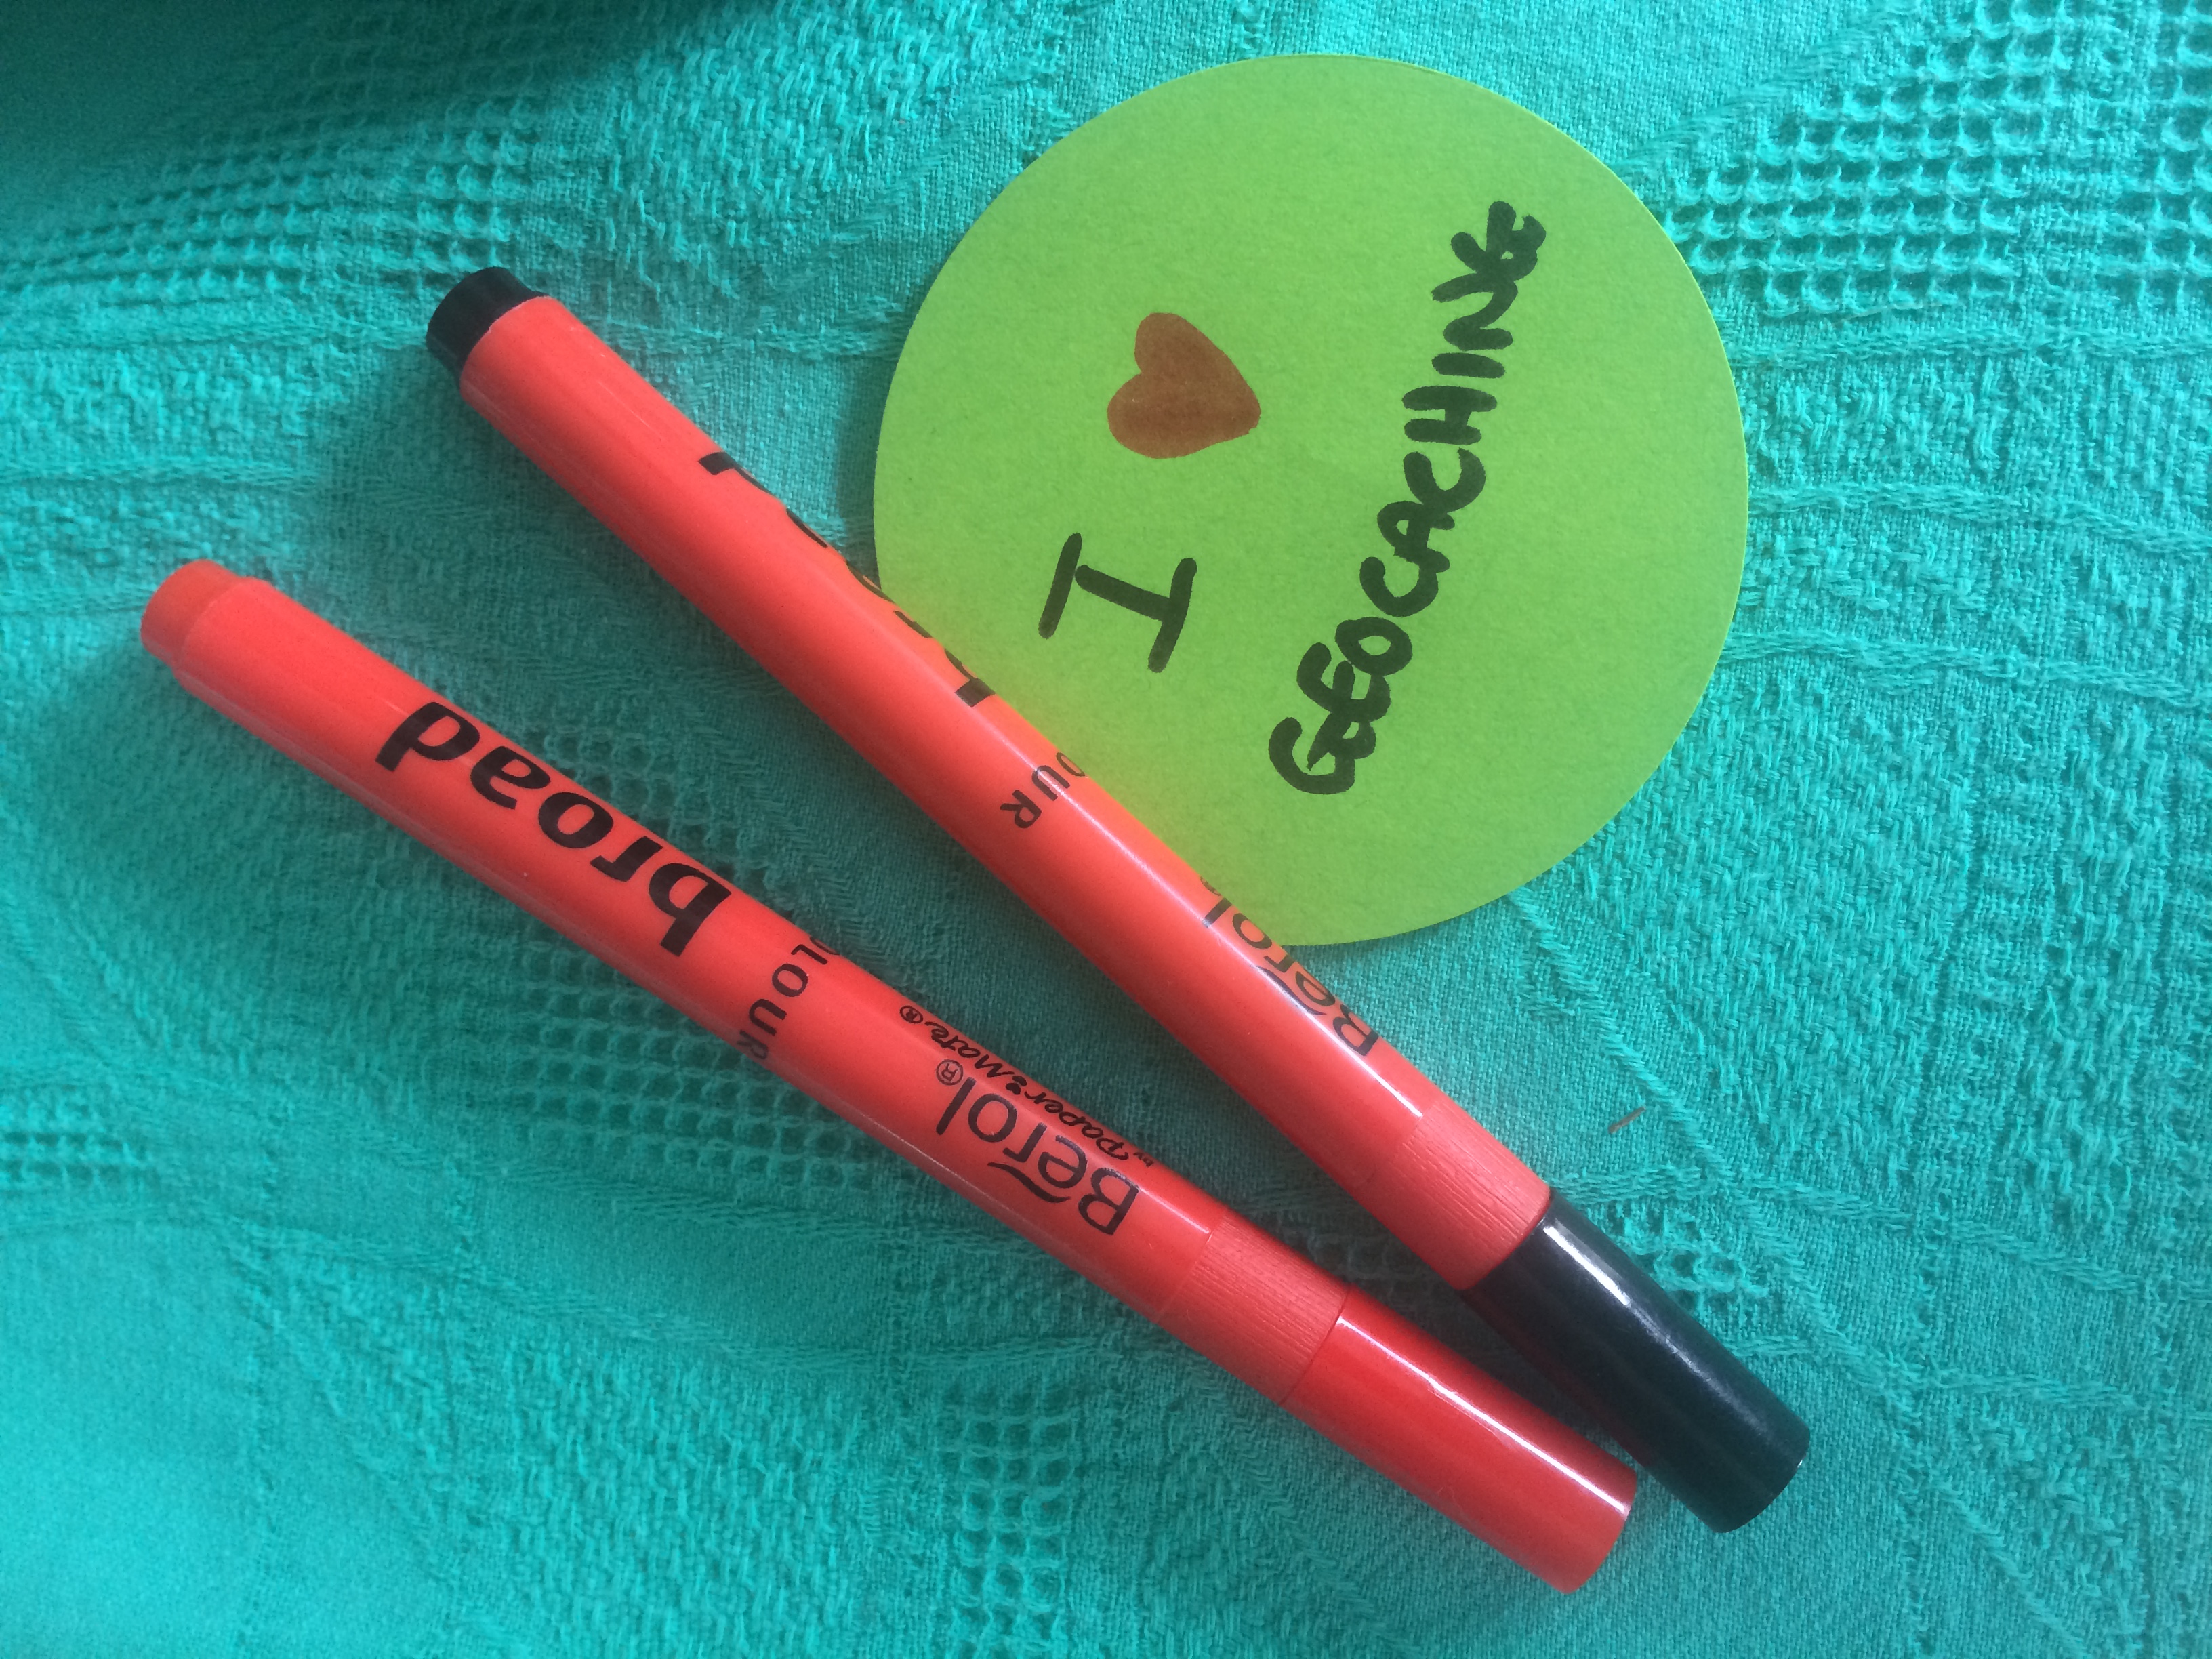
Next draw your design on your circle of paper.
Then carefully place the metal base into the right-hand-side of the badge-making machine.

Then place your illustrated paper circle and the plastic film circle on top of the metal base (make sure that you put the plastic film circle on the top of the paper circle or else the machine won't work properly!)

Now it's time to push the front of the badge into position and pull down on the handle to do the first press to put the design on the front of the badge.

There's just one more stage and then your badge is complete! Get the plastic base and put it in the left-hand slot of the badge maker.
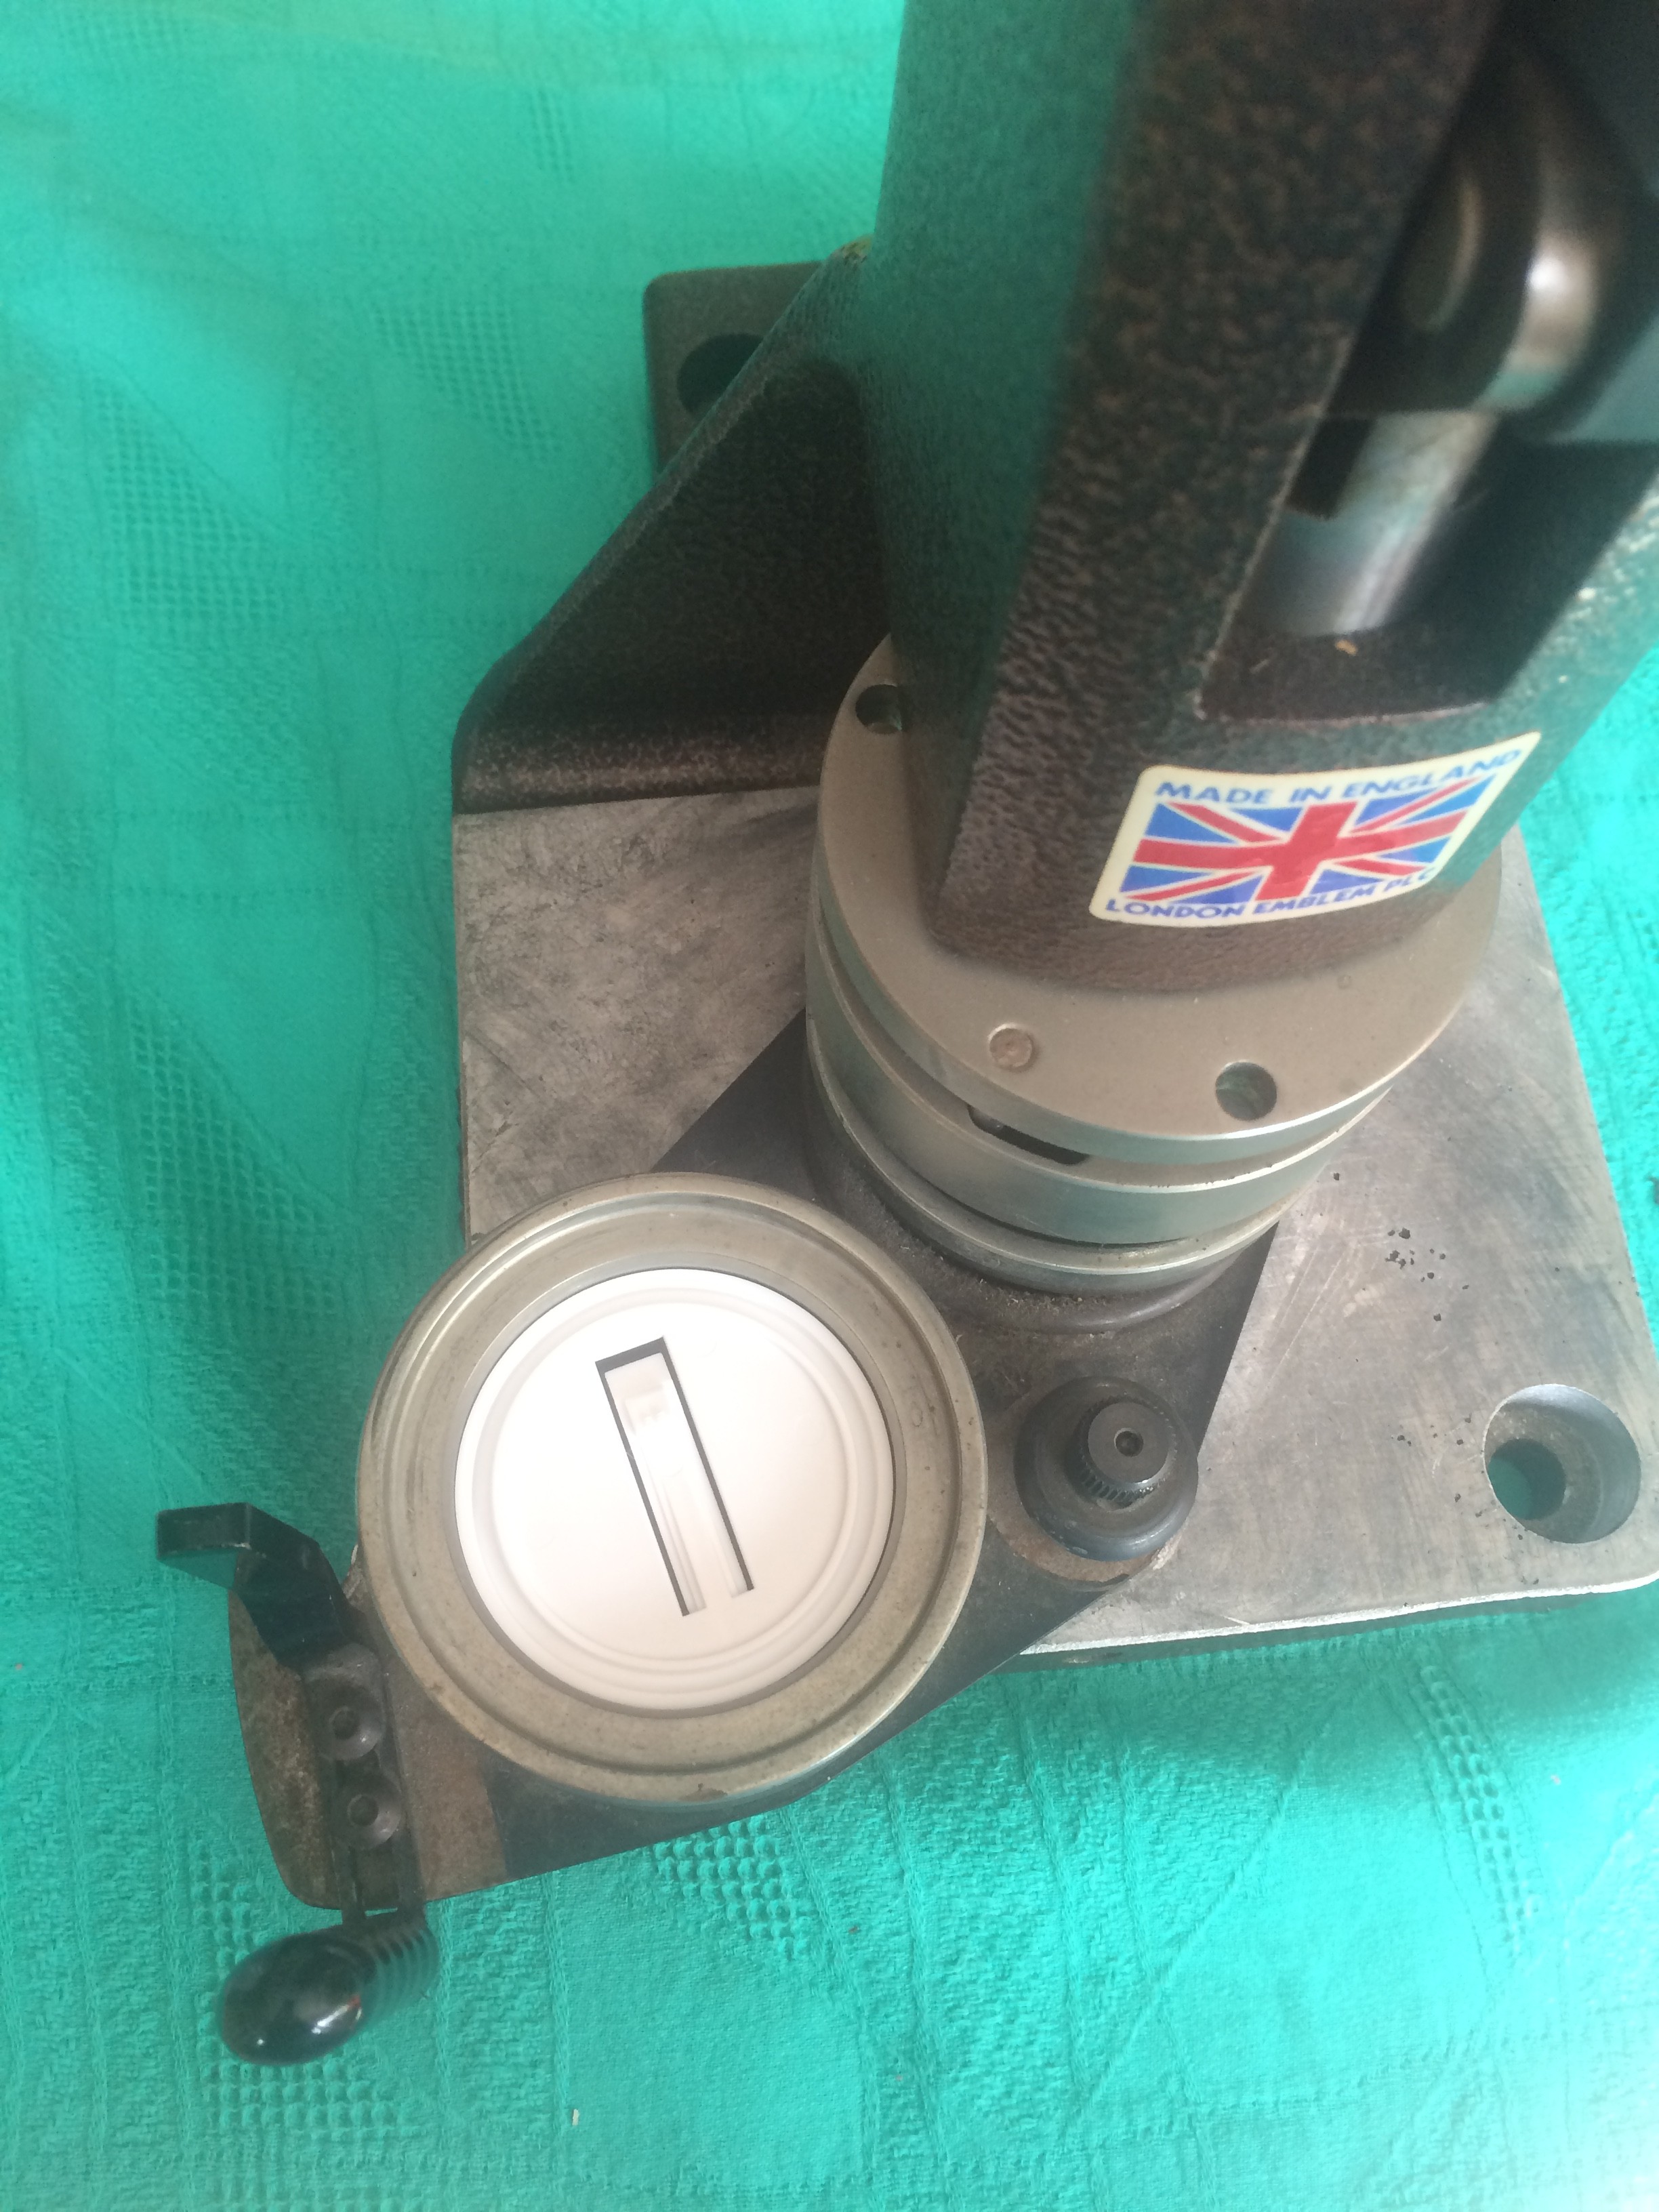
Then put one of the plastic backing parts into the machine before you push it in position to press the plastic back onto the rest of the badge.

Ta-da! Your badge is now complete!

Now take your badge out of the badge maker and your badge is complete!

You could enjoy wearing your new badge yourself or even better find a geocache on our geocaching trail and pop your badge in the box and exchange it for something else! :-)

Happy badge-making!

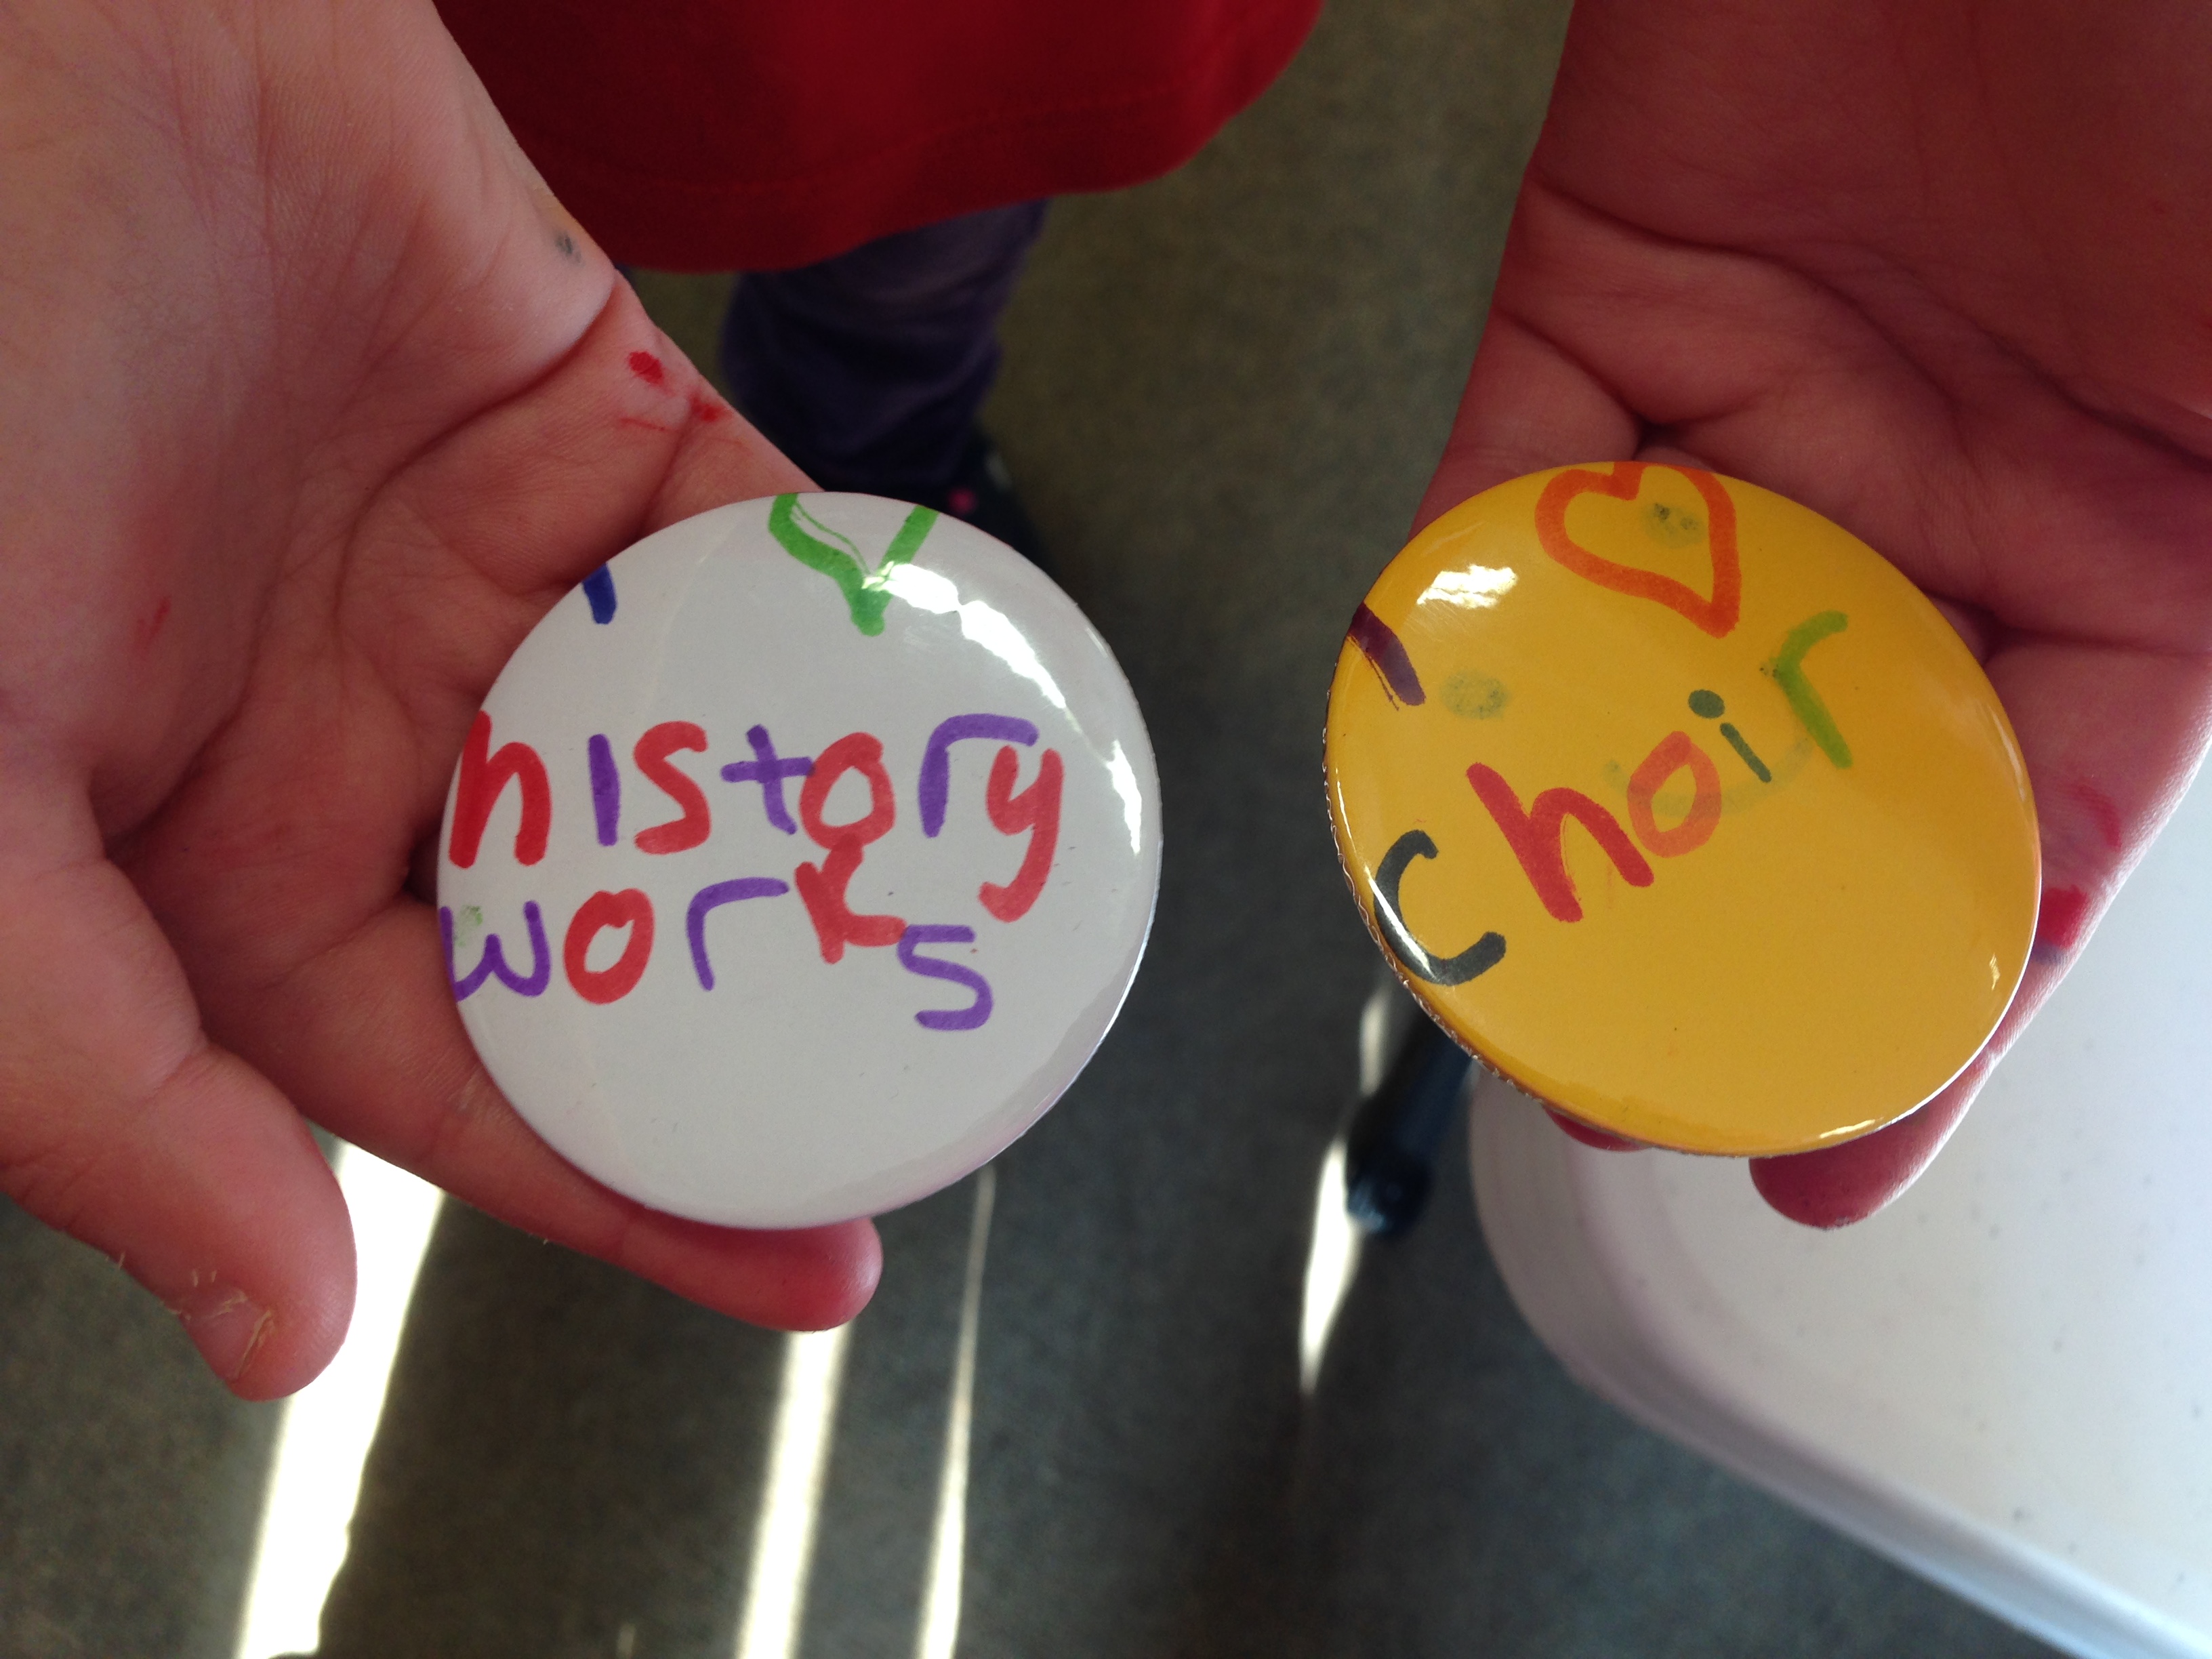
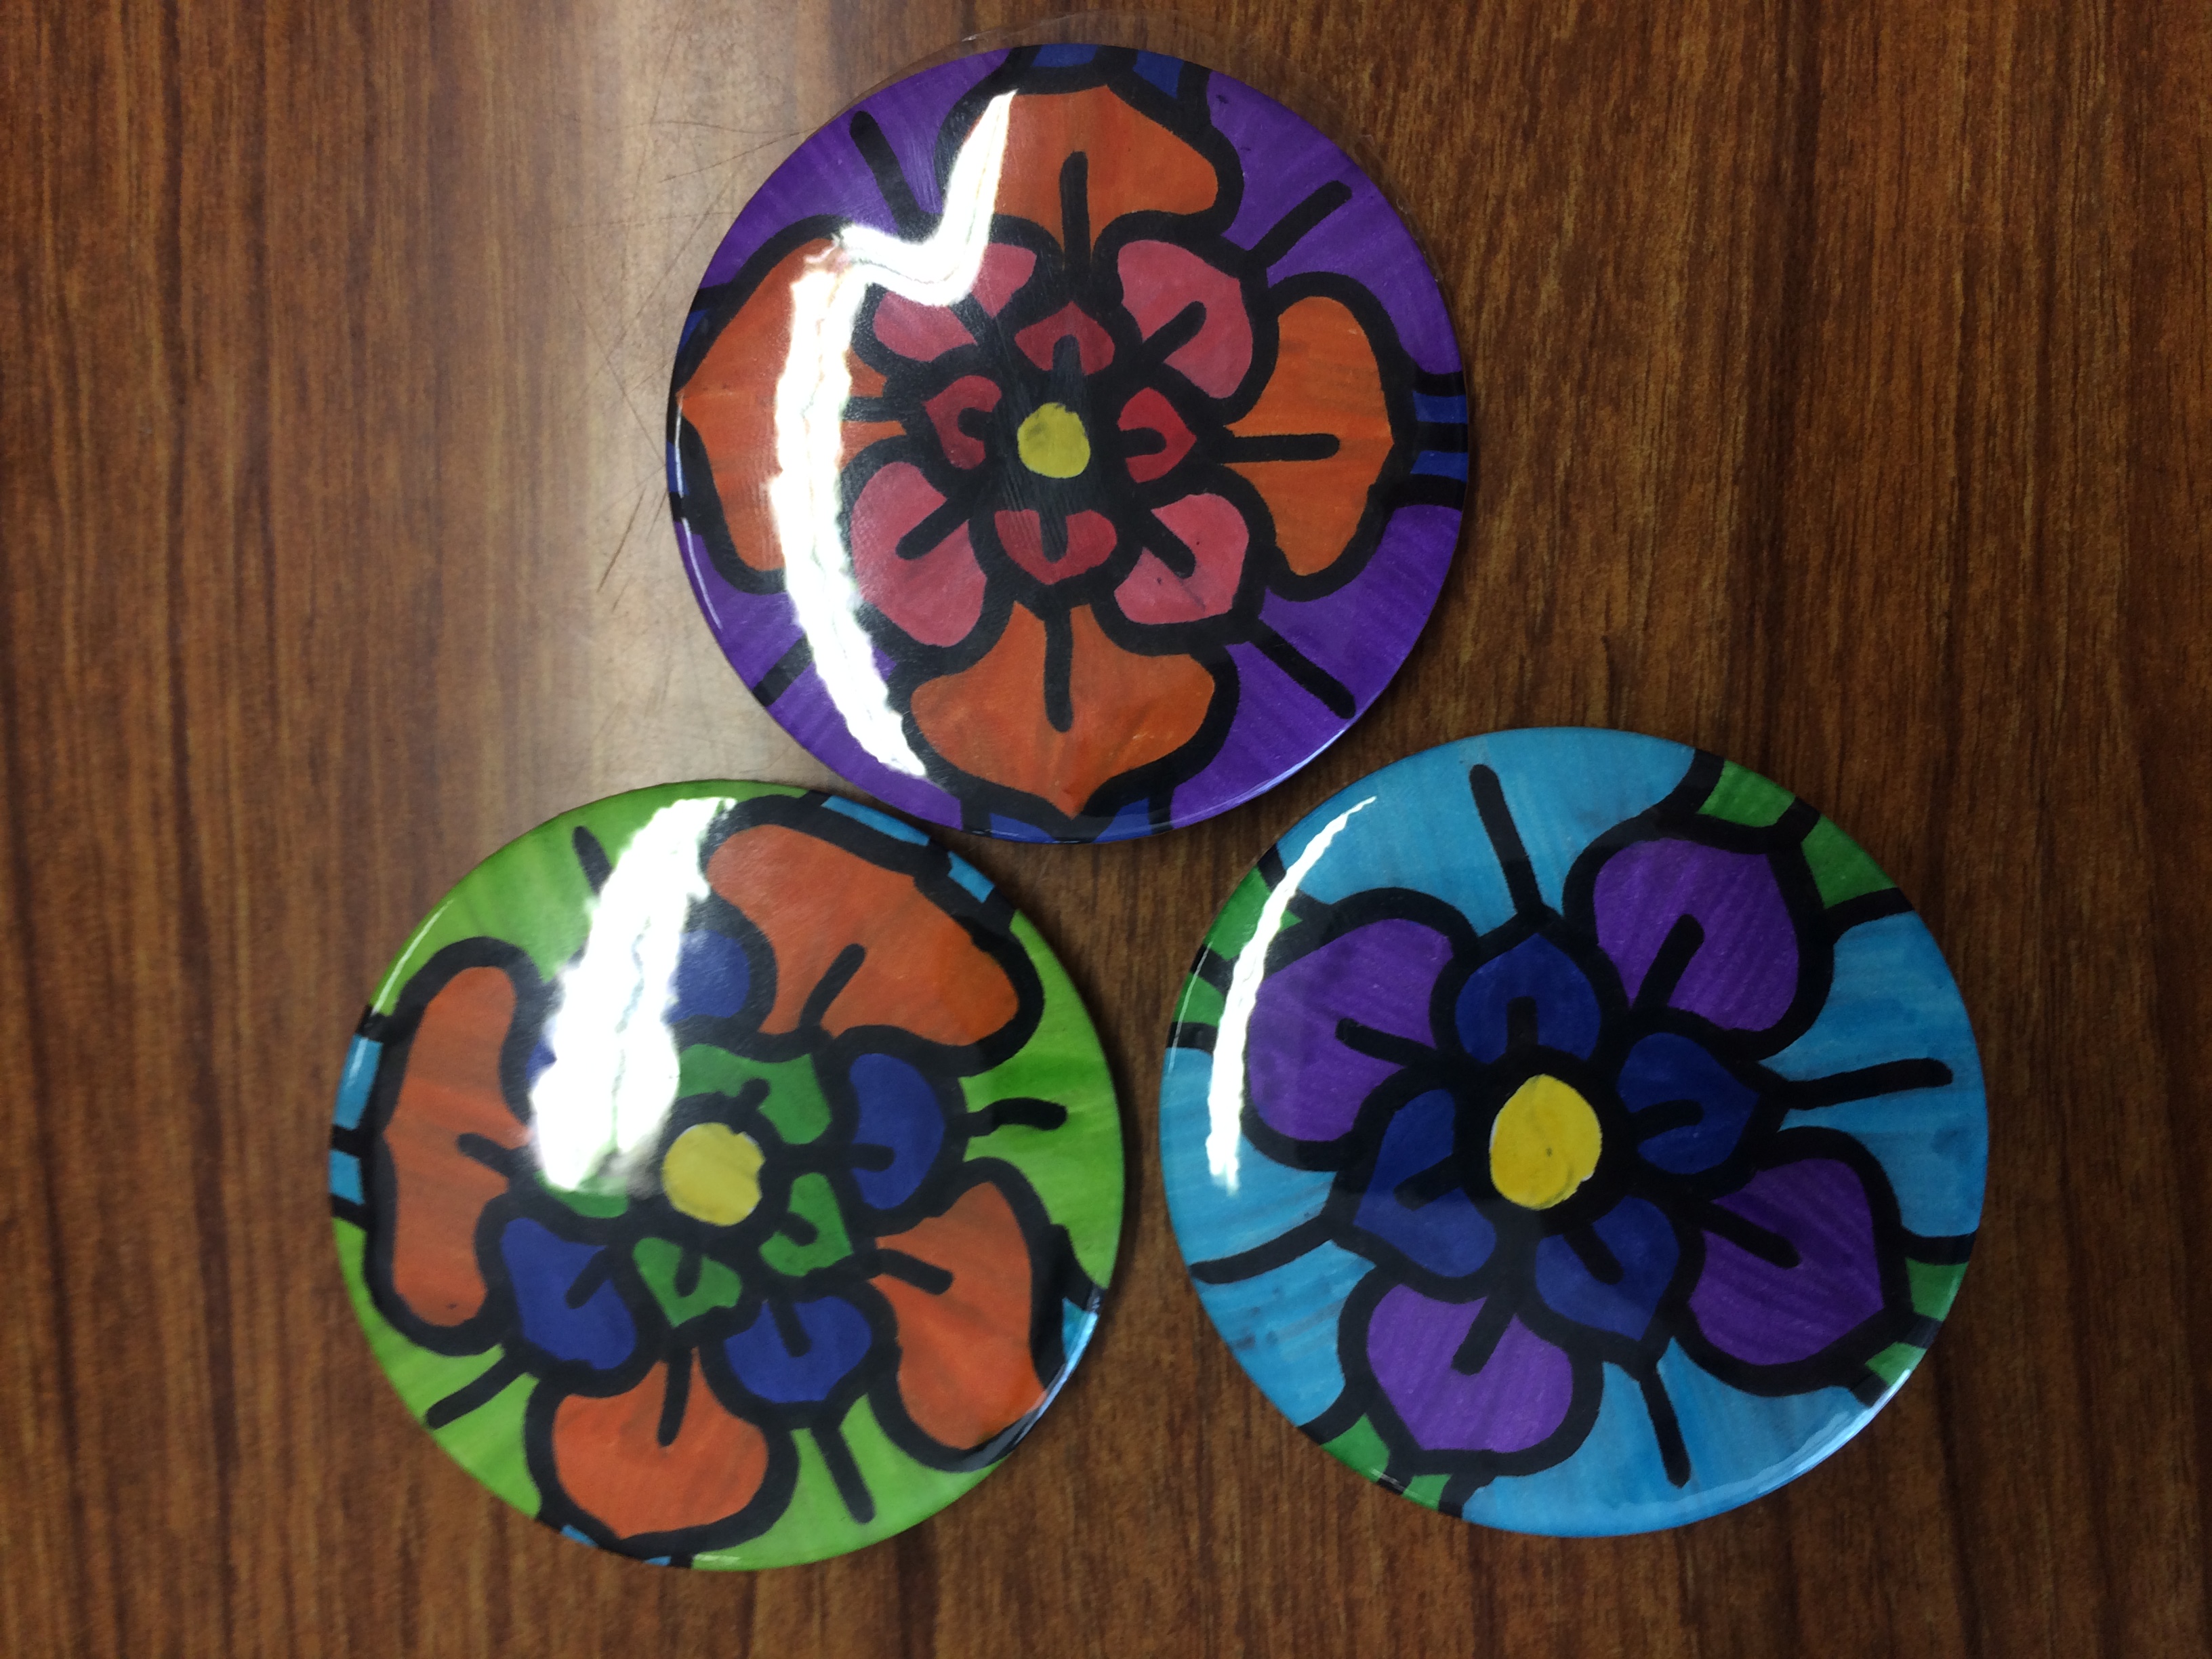
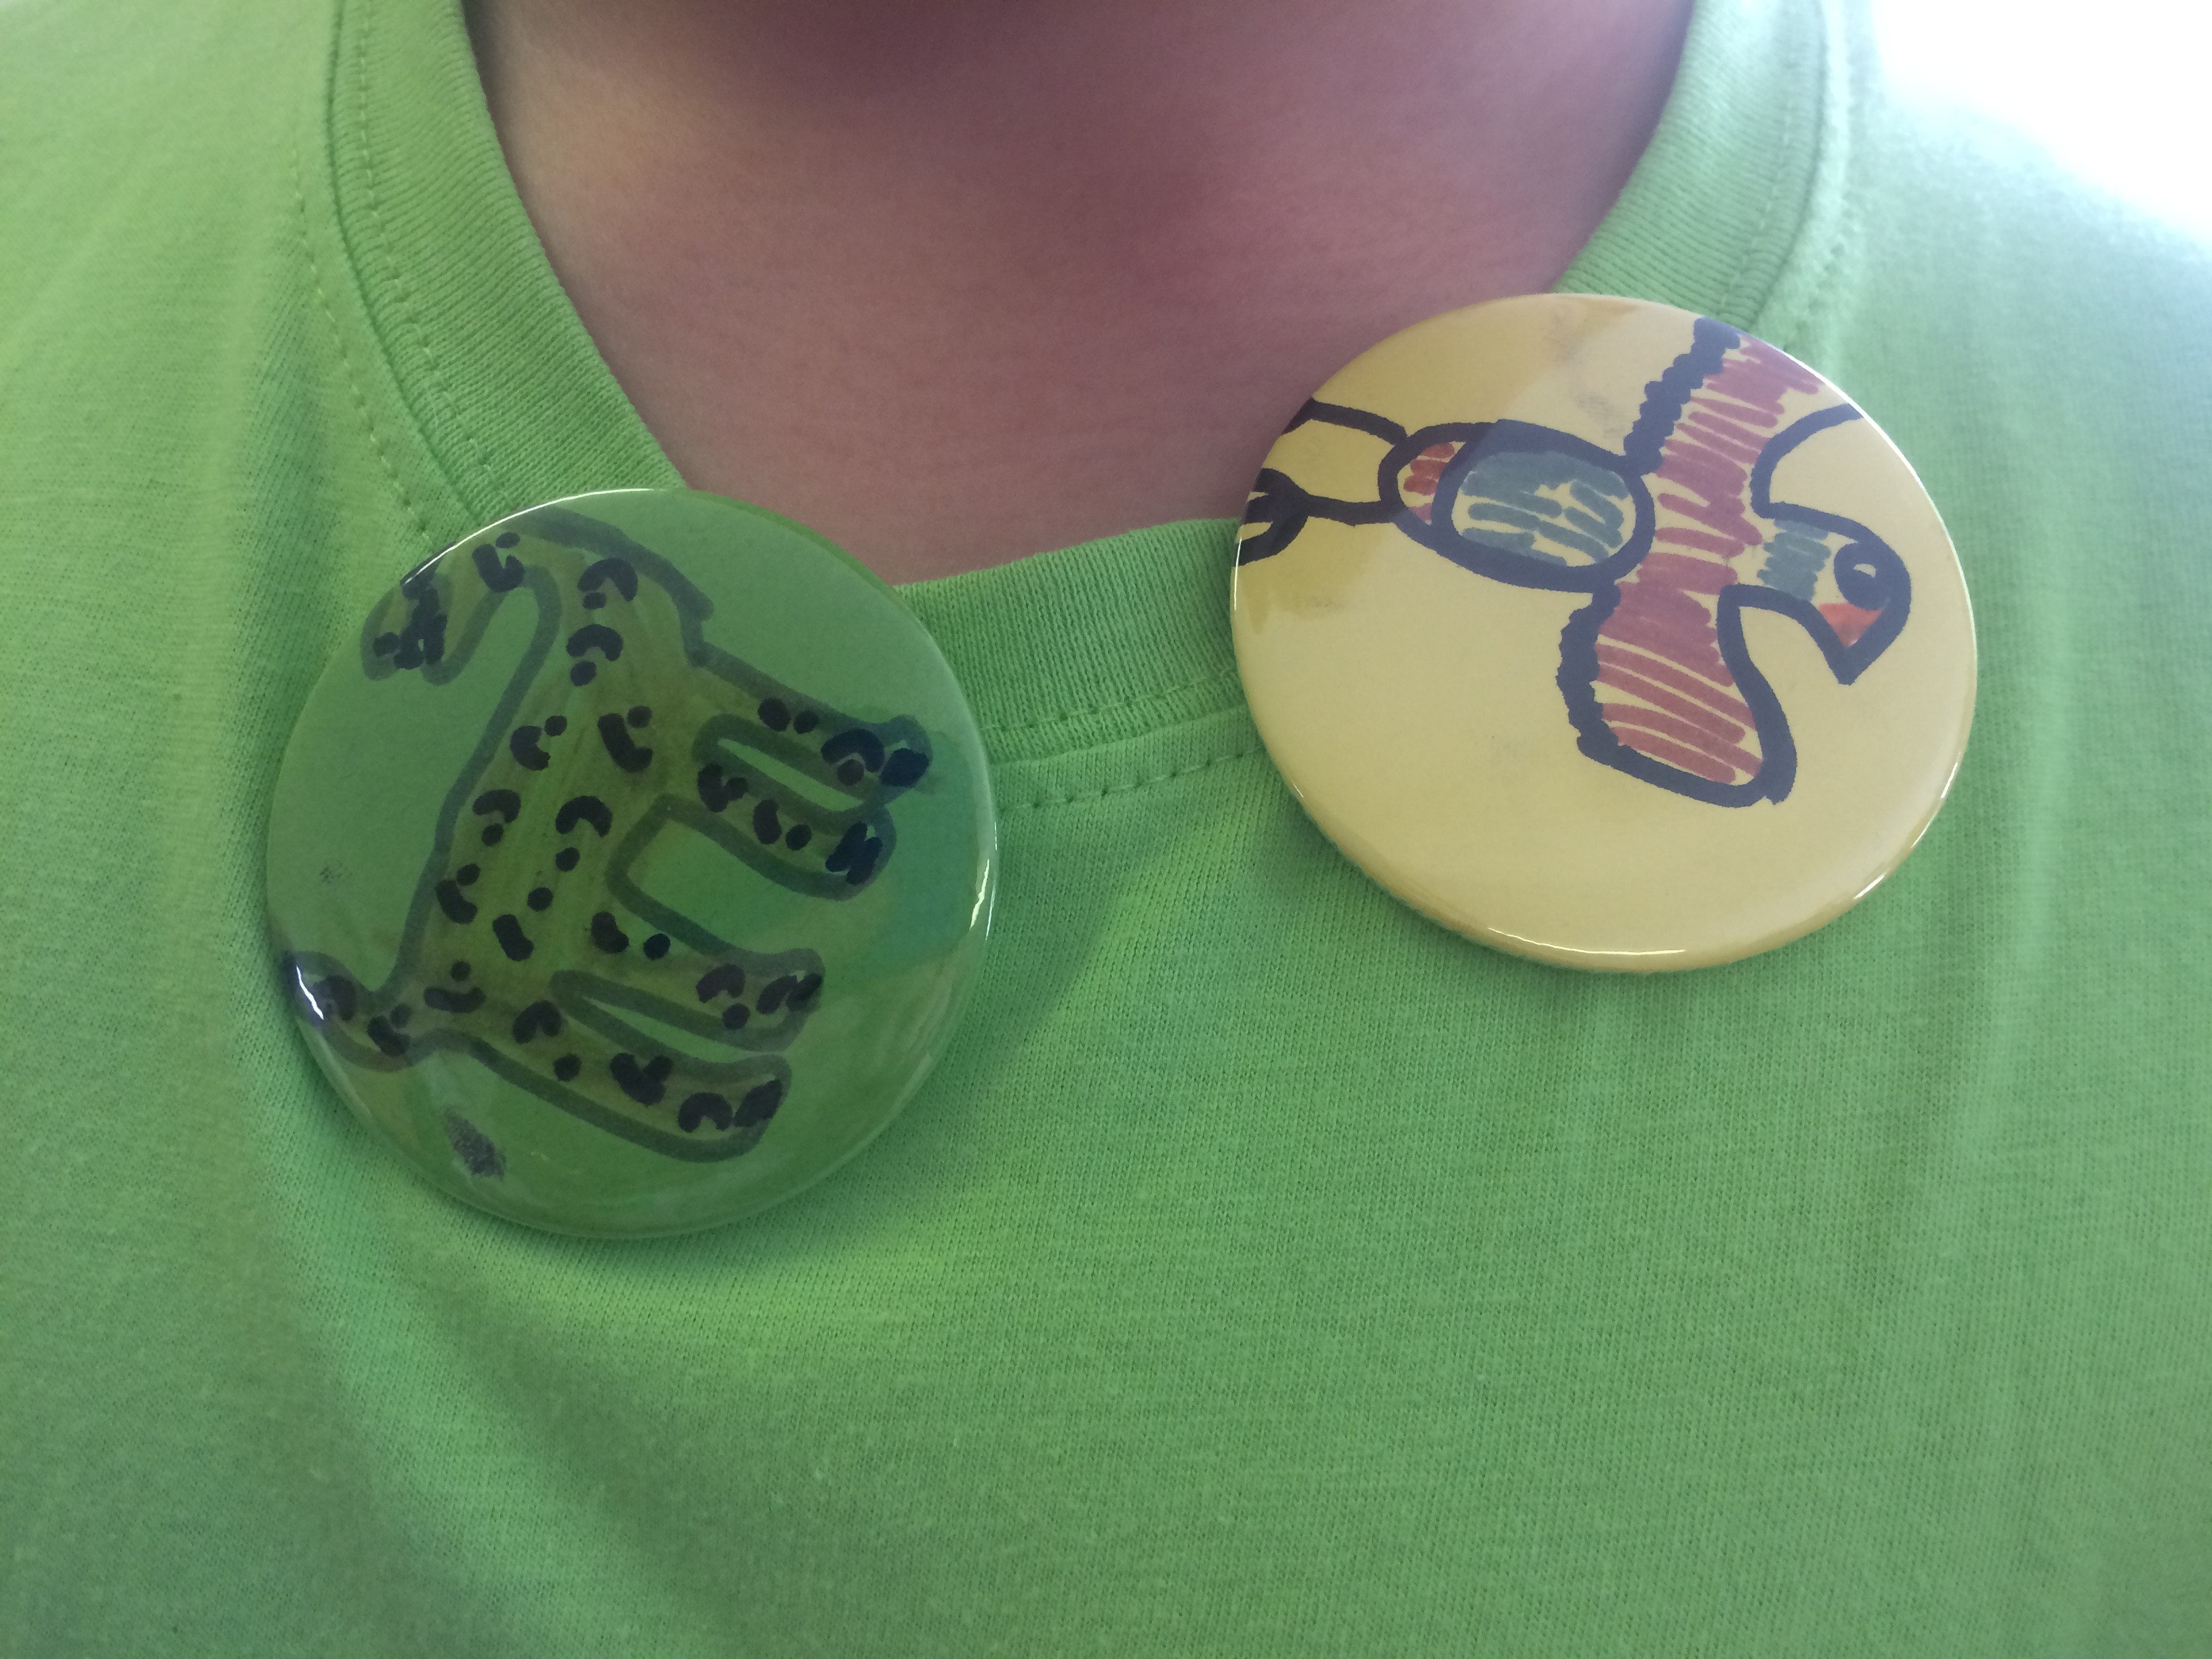
Here are some of the fantastic designs that children and young people have made as part of our project so far!